Did you know that over 40% of crafters cite inadequate workspace as their biggest creative barrier? This statistic highlights a common struggle. Your passion deserves a proper home.
You don’t need a giant, dedicated room or expensive systems. A functional area for cutting, ironing, and stitching can be yours. This guide is here to show you how.
We’ll explore budget-friendly DIY options and clever furniture repurposing. From compact fold-away desks for apartments to larger multi-functional stations, there’s a solution for every space.
The secret is matching your setup to your specific habits and project types. Let’s create a crafting haven that reflects your personal style and makes your work more enjoyable.
Key Takeaways
- A dedicated sewing room is not required for an effective craft space.
- Budget-friendly solutions often involve DIY projects or repurposing existing furniture.
- Your ideal workstation should match your available area and common project types.
- Practical features like smart storage and ergonomic design greatly improve your workflow.
- Personalizing your sewing space increases enjoyment and creative output.
- Even a small corner can be transformed into a highly functional crafting station.
Understanding Your Sewing Space Requirements
Before investing in any furniture, take a moment to map out your crafting habits and spatial constraints. This crucial step ensures your final setup truly supports your creative process.
Evaluating Your Space and Sewing Needs
What you make dictates your surface needs. Large items like curtains demand expansive, flat areas. Smaller mending tasks can thrive on compact surfaces.
Your available area is key. Do you have a dedicated room or a multi-purpose nook? This affects everything from storage to machine placement.
| Project Type | Recommended Surface Area | Key Considerations |
|---|---|---|
| Curtains & Garments | Large, flat tabletop | Allows for laying out full fabric yards and big pattern pieces. |
| Quilting | Moderate cutting space + wall area | Vertical design walls can save floor space while assembling. |
| Small Projects & Bags | Compact desk with portable mat | A fold-away cutting mat and minimal footprint work well. |
Key Questions to Define Your Workflow
Ask yourself these questions to clarify your ideal workstation:
- How many machines do I use regularly? (e.g., standard, serger)
- Do I need distinct zones for stitching, pressing, and cutting?
- Is behind-the-machine depth important for fabric flow?
- How will I store my supplies when not in use?
Your answers shape a functional, personalized crafting hub. Planning these details upfront saves time and frustration later.
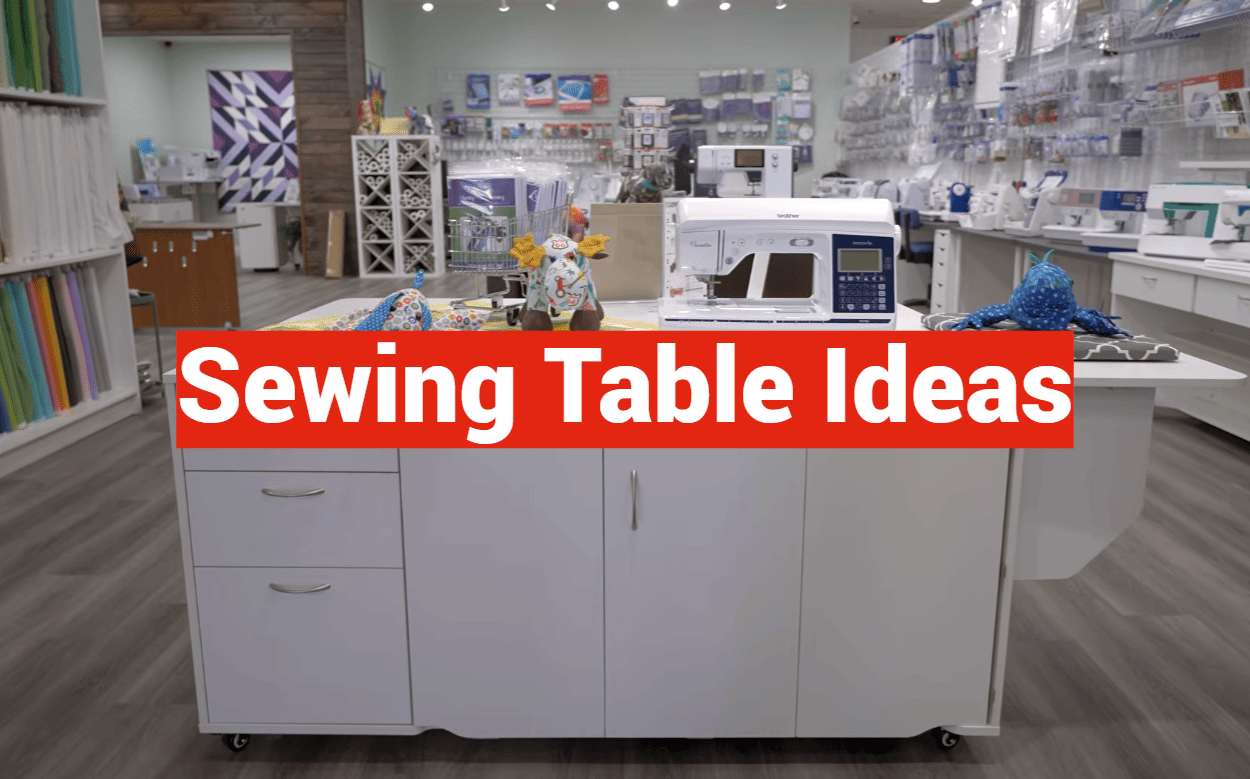
Choosing the Right Style for Your Sewing Table
Finding the perfect look for your crafting hub involves exploring both classic finds and contemporary solutions. Your workstation’s character can inspire creativity while solving storage puzzles.
Exploring Vintage and Modern Options
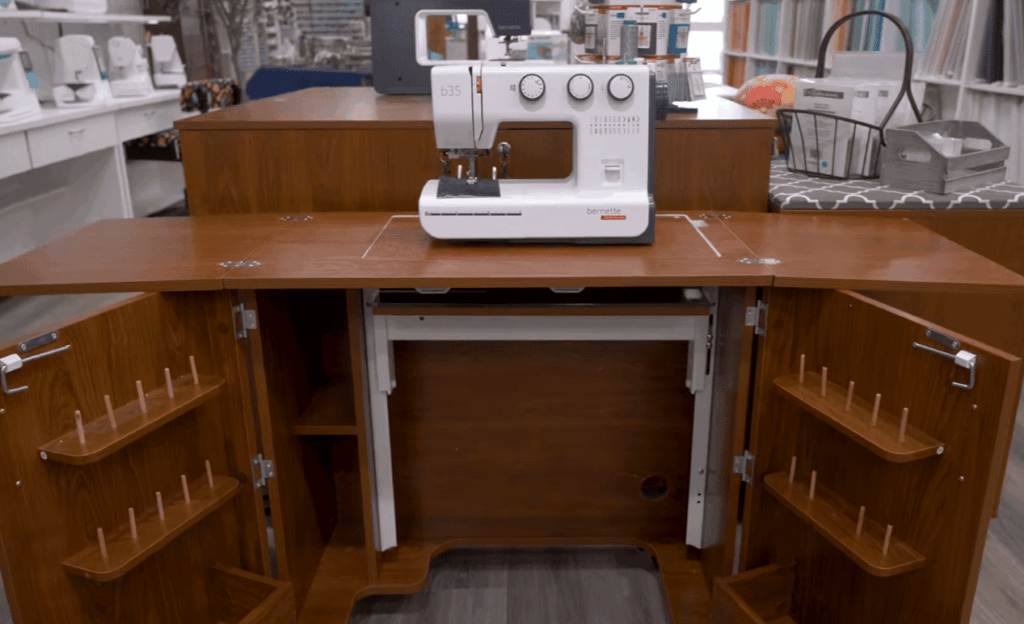
Vintage sewing machine tables are treasures often found at antique and thrift stores. They offer solid wood construction and timeless charm. A classic Singer desk folds flat, opens for a large surface, and has clever pop-out drawers.
Modern options from retailers provide clean, affordable bases. You can customize them with paint or new hardware. This creates a fresh, personalized look for your space.
| Feature | Vintage Style | Modern Style |
|---|---|---|
| Common Source | Thrift store, antique shop | Major furniture retailers |
| Construction | Often solid wood | Engineered wood, metal |
| Customization Potential | High (sanding, painting) | High (assembly, attachments) |
| Machine Fit | May need modification | Typically ready for modern machines |
Upcycling and DIY Inspirations
Breathing new life into an old furniture piece is deeply rewarding. An old desk or cabinet can become a fantastic station. One crafter transformed a mid-century sewing desk using sandpaper, cheerful paint, decorative transfers, and a protective sealer.
The beauty of upcycling is creating a one-of-a-kind item that tells your story for less.
This approach lets you match any decor. You end up with a unique, functional centerpiece for your projects.
Incorporating Storage and Organizational Solutions
The difference between a cluttered corner and a serene studio often boils down to one thing: intelligent storage. A clear work surface is vital, but where your tools live defines your workflow.
Smart organization is essential for limited or shared areas. It lets you pack away projects quickly and find what you need instantly.
Maximizing Built-In Storage Options
Built-in drawers are a crafter’s dream. They keep notions, thread, and scissors within reach but out of sight. This keeps your main area tidy and functional.
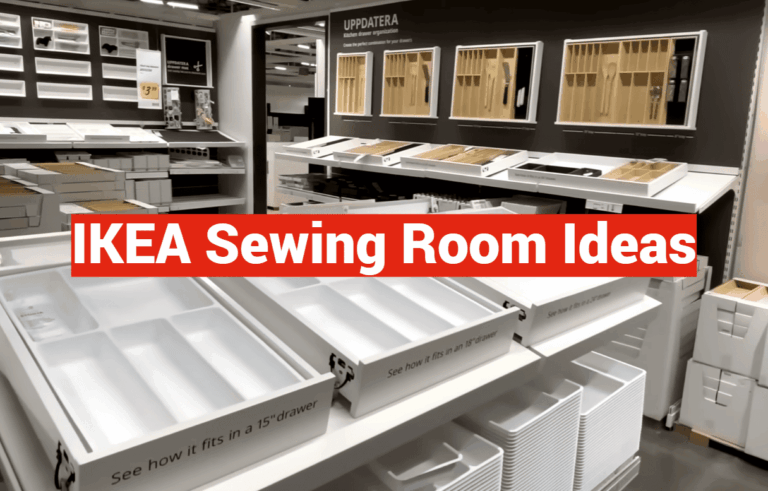
Don’t have a desk with drawers? No problem. Rolling carts, like the IKEA Raskog, offer mobile storage. Tuck them under your work surface and pull them out when needed.
Repurposed furniture adds character and function. An old filing cabinet or dresser can slide underneath to provide tons of space. Sort fabrics, patterns, or tools into separate drawers.
| Storage Type | Best For | Key Feature |
|---|---|---|
| Built-in Drawers | Frequent, small items | Integrated, keeps surface clear |
| Rolling Cart | Flexible, multi-use spaces | Mobile, easy to tuck away |
| Repurposed Cabinet | Bulky supplies & fabric | High capacity, often lockable |
Look up for more space. Wall-mounted shelves and pegboards use vertical air. They hold supplies without eating into your precious floor area.
For a complete hidden station, consider a closet conversion. Fit a wardrobe with built-in drawers and lighting. You get a full crafting hub that closes up neatly in a guest room.
DIY Sewing Table Ideas for Small Spaces
Limited square footage shouldn’t limit your creative potential. With clever do-it-yourself approaches, you can build a highly functional crafting hub in even the tiniest apartment corner or shared room.
Focus on designs that maximize your available area. The goal is a setup that supports your work and stores away neatly.
Compact and Fold-Away Designs
Vintage Singer desks are legendary for space-saving. They fold completely flat, fitting into a closet. When opened, they provide a sturdy surface with a pop-out drawer for tools.
Modern solutions include tables with folding legs. These units collapse for easy storage. Wall-mounted drop-down models function like a Murphy bed for your projects.
Multi-Functional Table Solutions
Consider furniture that serves double duty. A drop-leaf console can be your workstation, then transform back. A portable cutting mat turns any flat surface into a temporary cutting zone.
Rolling carts or tables on casters offer ultimate flexibility. Move your station where needed, then tuck it against a wall.
| Solution Type | Best Feature | Ideal For |
|---|---|---|
| Fold-Away Desk | Complete flat storage | Closets or tight corners |
| Multi-Purpose Table | Dual daily function | Shared living spaces |
| Corner Nook Setup | Utilizes dead space | Permanent small footprints |
Keep your surface clear. Store only your essential machine and a few tools on top. Use bins underneath for everything else. This simple approach makes any small area work brilliantly.
Designing a Dedicated Sewing Room Versus a Multi-use Area
Crafters often debate the merits of a dedicated studio versus a flexible corner. Both approaches can yield a highly functional and inspiring creative hub.
The choice depends entirely on your available square footage and lifestyle. Let’s explore how to maximize your situation, whether you have an entire spare room or just a shared living area.
Setting Up a Dedicated Sewing Nook
If you’re blessed with a whole room, you can design a true sanctuary. This allows for distinct zones for cutting, pressing, and machine work.
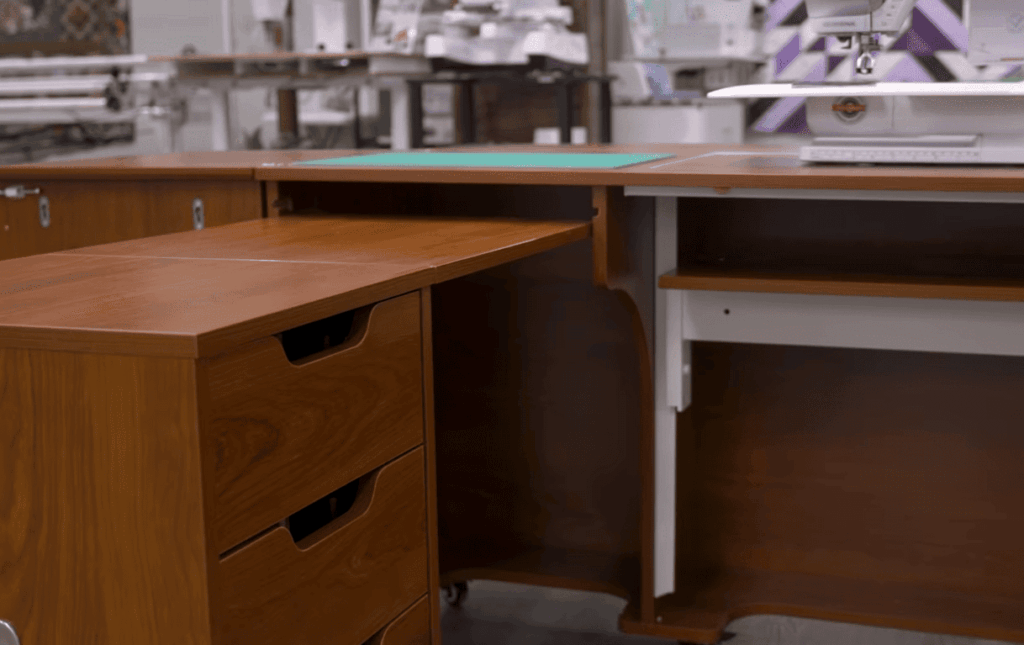
Consider an L-shaped desk configuration. It provides maximum surface area while letting you swivel between tasks effortlessly. You can also incorporate ample storage for a large fabric stash and all your tools.
Repurposing Furniture in Multi-use Rooms
For shared spaces like guest bedrooms or dining rooms, focus on clever concealment. Your goal is a setup that transitions quickly between purposes.
Armoires and wardrobes can be transformed into complete stations. They hide supplies behind doors, looking like regular furniture. A dining table can also double nicely.
Use rolling carts or decorative boxes underneath to organize. These can be cleared in moments when you need the surface for a meal.
| Feature | Dedicated Room Advantage | Multi-Use Area Solution |
|---|---|---|
| Work Surface | Permanent, large areas for spreading out | Convertible or dual-purpose surfaces |
| Storage Style | Open shelves, abundant drawers | Closed cabinets, mobile carts, hidden compartments |
| Key Focus | Optimizing workflow and creative flow | Quick cleanup and visual tidiness |
The core difference is in planning. A multi-use space demands more thoughtful containment. This lets you switch the room’s function without a major hassle.
Optimizing Your Sewing Table Setup for Creativity and Functionality
Transforming your craft area into a powerhouse of productivity hinges on two core principles: ergonomics and smart layout. When your body feels good and your tools are logically arranged, your creative sessions become longer and more enjoyable.
Ergonomics and Efficient Layouts
Getting your surface heights right is crucial. For cutting tasks, a counter-level cutting table is ideal. This height, roughly even with your hips, saves your back from constant bending.
Your sewing machine often needs a lower surface. Standard desk height lets you sit with elbows at a comfortable angle. This prevents shoulder strain during long projects.
What if you use one sewing table for everything? Raise it to counter height and use a tall stool. This multipurpose way works well for many crafters.
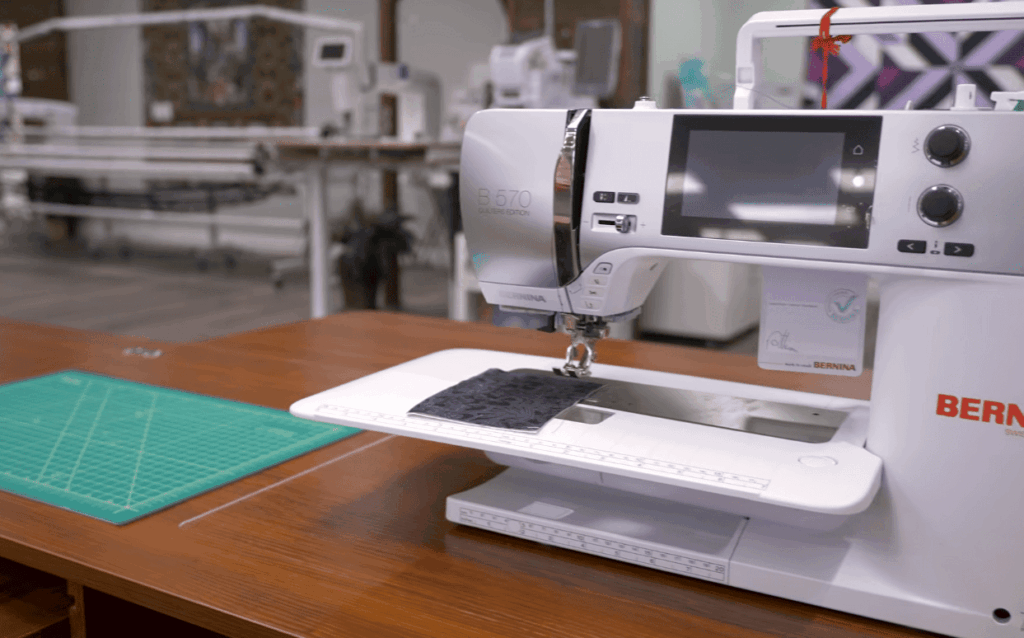
Consider the depth of your top. Having 12-18 inches behind your machine lets fabric flow smoothly. A deep conference table from a thrift store can be perfect for this.
Keep your most-used scissors, pins, and thread within easy arm’s reach. This simple step maintains your creative flow. You won’t break your rhythm searching for supplies.
Good lighting is non-negotiable. Position your station near a window if possible. Add a bright task lamp over your machine and cutting zone to reduce eye strain.
Finally, think about your workflow. Arrange your space in a logical order: cutting first, then stitching, then pressing. This efficient path makes every project feel smoother.
Sewing Table Ideas: A Practical Listicle
Sometimes the most brilliant crafting hubs start with a simple, sturdy find from a local secondhand shop. This listicle offers actionable projects to build your perfect workstation. Let’s explore budget-friendly finds and creative modifications.
Budget-Friendly and Thrift Store Finds
Scour local thrift stores for rectangular dining tables. They offer large, flat surfaces for under $50. Conference room tables are another deep, sturdy option.
Try the classic IKEA hack. Use an Ingo table and add bed risers to achieve the ideal working height. Then, customize with storage cubes or a rolling cart underneath.
This approach maximizes your surface area affordably. It creates a solid foundation for your projects.
Creative DIY Projects and Modifications
Build a mobile ironing station. Connect two small bookshelves with wood bracing. Add casters and mount a custom-cut plywood surface on drawer slides.
Convert an old armoire into a complete crafting closet. It hides your supplies in a shared room. Give a vintage cabinet new life with sanding and paint.
Consider a fold-down wall table for tiny spaces. It uses heavy-duty hinges and a support leg. This provides workspace that vanishes when not needed.
| Solution Type | Average Cost | Skill Level | Best For |
|---|---|---|---|
| Thrift Store Find | $20 – $100 | Beginner | Quick, large surface setup |
| IKEA Hack | $50 – $150 | Intermediate | Custom height & storage |
| DIY Build (e.g., Mobile Station) | $75 – $200 | Advanced | Specialized, multi-function stations |
Customizing Your Sewing Space with DIY Techniques
Personalizing your work area isn’t just about looks. It’s about creating an environment that sparks joy and efficiency. Do-it-yourself projects let you tailor every detail to your workflow and style.
This hands-on approach turns a basic piece of furniture into your creative command center. You gain control over storage, height, and aesthetics.
Creative Upcycling Projects
Breathing new life into an old desk or cabinet is rewarding. Start by sanding surfaces with 60-grit paper for paint adhesion. Chalk paint offers a matte finish with minimal prep.
Add decorative transfers or stencils for a unique look. Protect your finished wood with a polycrylic sealer. This prevents stains and makes cleaning easy.
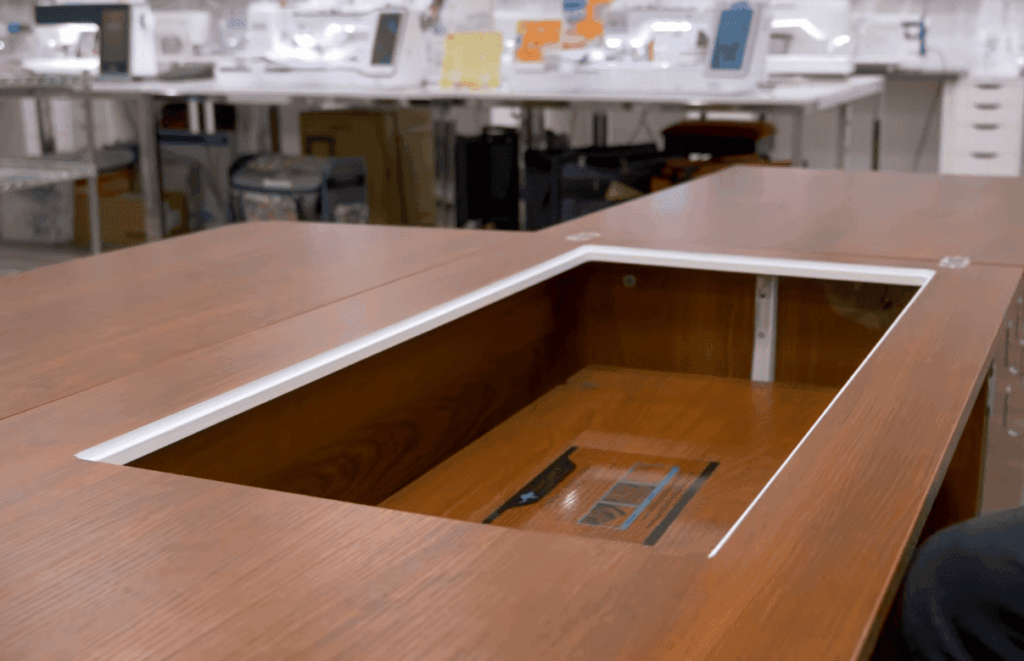
Don’t fear modifying a piece to inset your machine. A jigsaw and birch plywood can create a custom recess. This gives you a flush top for smooth fabric flow.
Tools and Materials for a Personalized Touch
Your local hardware store is a treasure trove. Gather birch plywood, wood screws, and filler for building. Casters add mobility to a heavy cabinet.
Consider adding built-in drawers for organized supplies. Magnetic strips hold tools neatly. A fabric skirt can hide storage bins below.
Remember, imperfections add character. Your handmade station will have charm factory options lack.
| Project Type | Key Tools & Materials | Best For | Time Estimate |
|---|---|---|---|
| Upcycling Existing Furniture | Sander, chalk paint, decorative transfers, sealer | Adding personality to vintage finds; quick refresh | 1-2 weekends |
| Building a New Table Top | Birch plywood, jigsaw, drill, wood screws, polyurethane | Creating custom dimensions; perfect machine fit | 2-3 weekends |
| Adding Storage Features | Drawer slides, magnetic strips, fabric, snap tape | Maximizing organization in a small corner | 1 weekend |
Conclusion
Crafting the ideal workspace is a personal project that pays off in creative dividends. The best setup for you fits your available space, project types, and budget perfectly.
Start with what you have. A repurposed piece of furniture or a thrift store find can become a fantastic station. Focus on the key elements: a sturdy surface, comfortable height, good storage for your supplies, and proper lighting.
Make it truly yours with a fresh coat of paint or a custom cutting mat on top. Your area should spark joy and support your workflow. Remember, the perfect sewing table is out there waiting—or ready to be built.